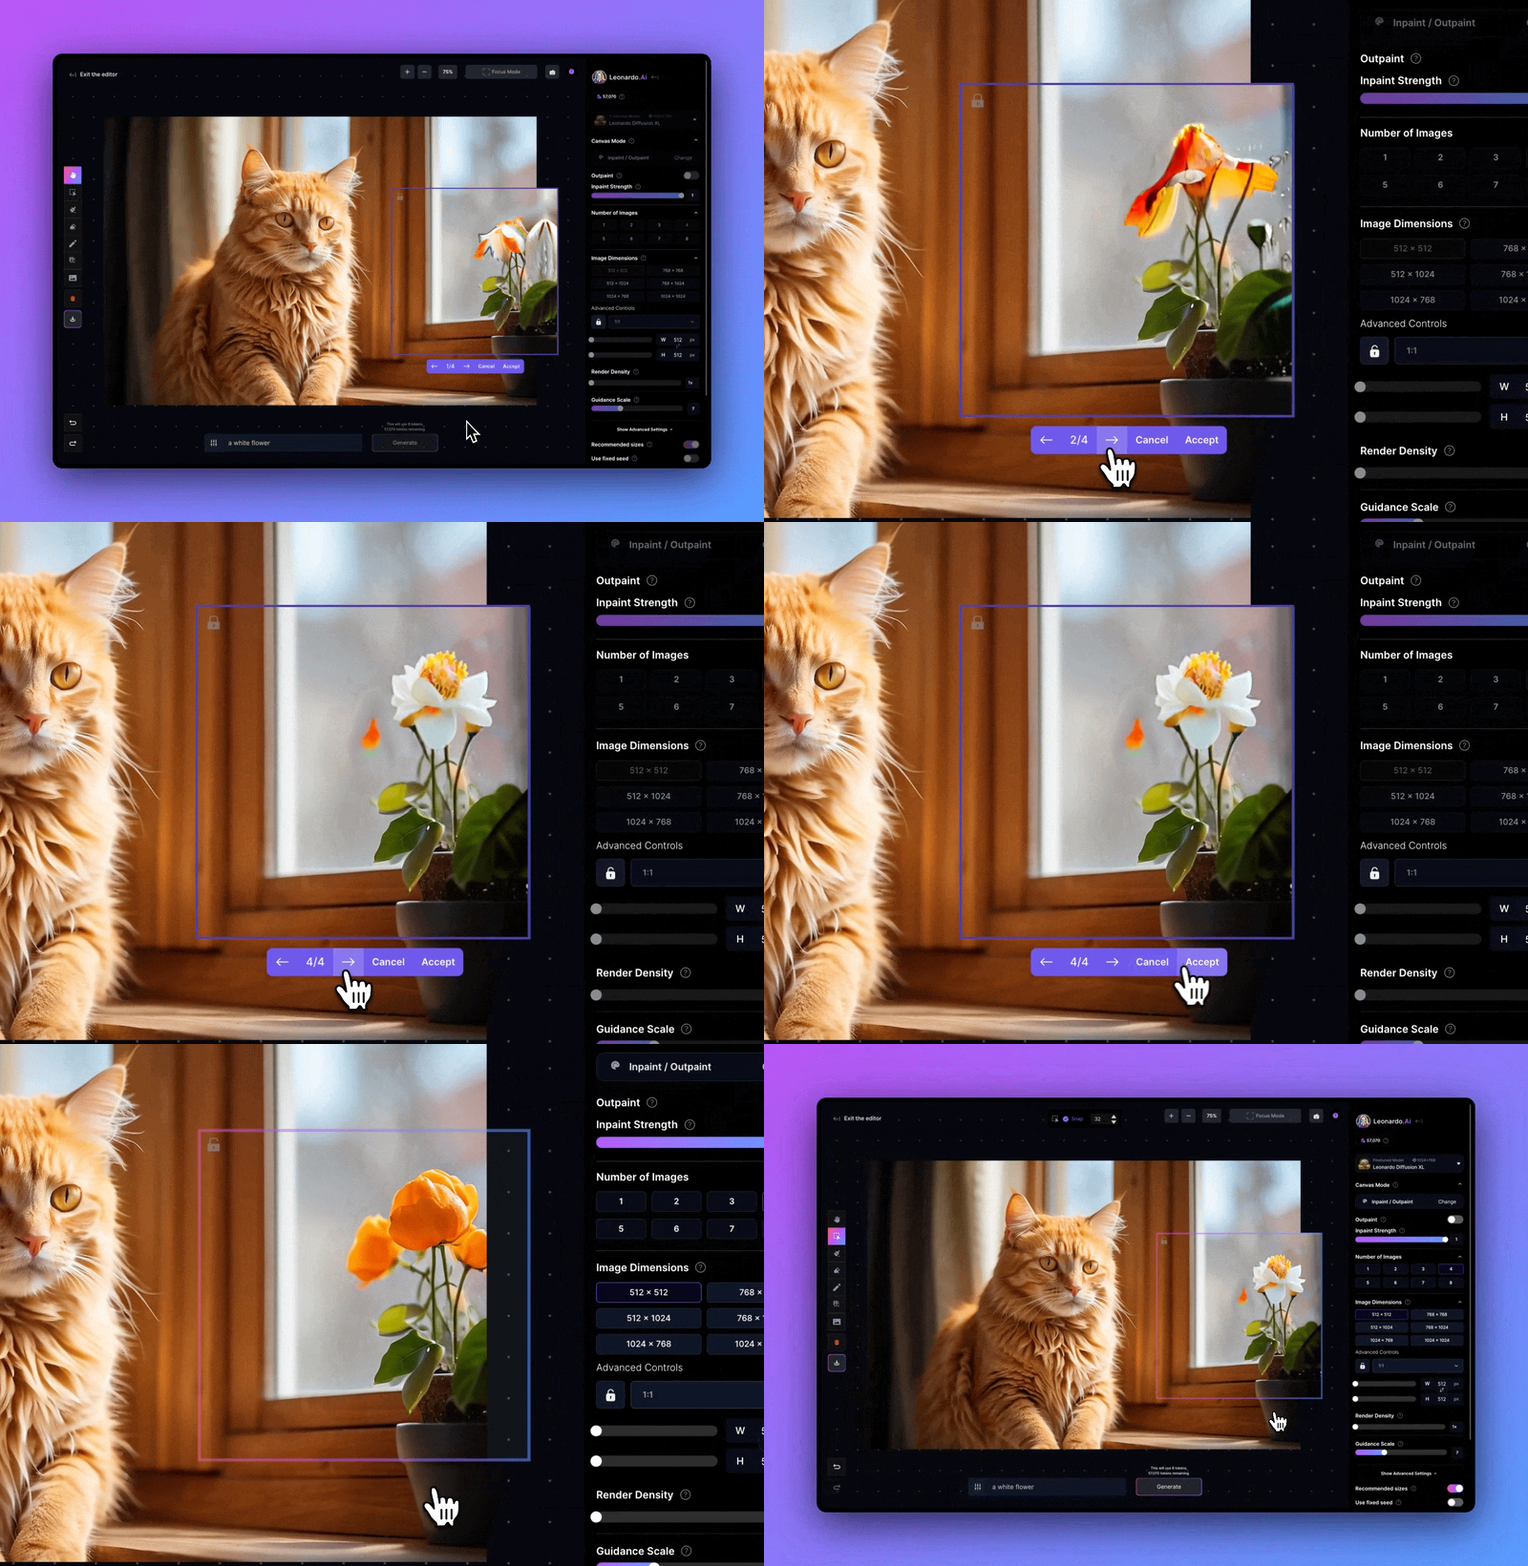
Leonardo AI’s image-to-image feature allows you to transform reference images into unique creations with ease. Follow this step-by-step guide to get started with image-to-image generation and maximize your creative output.
Step 1: Log In to Your Leonardo AI Account
- Go to the Leonardo AI website and log in to your account.
- If you’re new to Leonardo AI, create a free account quickly to access the image generation tools.
Step 2: Access the Image Generation Tool
- Once logged in, locate the Image Generation tool.
- You can access it from the left panel or by clicking on the Create New Image button at the top-right corner of the dashboard.
Step 3: Upload a Reference Image
- Within the image generation interface, look for the option to upload a reference image.
- Click on the 🖼️ icon in the prompt box and select Content Reference.
- Choose an image from your device to use as the base for your new creation.
Step 4: Adjust Content Reference Strength
- After uploading your reference image, you’ll see a Content Reference Strength slider. This setting lets you control how closely the generated image will follow your reference.
- Set the strength to Low, Medium, or High, based on how closely you want the final image to match the original.
- Starting with High is recommended if you prefer a strong resemblance to the reference image.
Step 5: Enter a Prompt
- In the prompt field, type a detailed description of the image you want to generate.
- For example, if your reference image is a landscape, you could add specific elements like “a sunset over mountains with a river flowing” or specify an artistic style, such as “impressionist.”
- Clear, descriptive prompts help Leonardo AI create an image that aligns closely with your vision.
Step 6: Configure Additional Settings
- Model Selection: Choose a pre-trained model that suits your desired style (e.g., photorealistic, anime).
- Image Dimensions: Set your preferred dimensions for the generated image.
- Number of Variations: Select up to four variations if you’d like multiple versions of your image to choose from.
Step 7: Generate the Image
- Once your settings are in place, click Generate.
- Leonardo AI will process your reference image and prompt, creating one or more unique images based on your inputs.
Step 8: Review and Download Your Images
- After generation, review each image in detail by clicking to zoom in on them.
- When you find an image you like, download it directly to your device for use in your projects.
Tips for Effective Image-to-Image Generation
- Use Clear and Specific Prompts: A precise prompt guides the AI better, producing results that closely match your creative vision.
- Experiment with Strength Settings: Adjust the Content Reference Strength to explore different levels of influence from your reference image.
- Try Different Models: Leonardo AI offers a variety of models designed for various artistic styles. Experiment to find the best one for your project.
By following these steps and tips, you can harness the full potential of Leonardo AI’s image-to-image generation tool to create personalized, high-quality images.


